Get to know TablePress
Create and Display Your First Table
In this guide, you’ll create your first table with TablePress, add content to it, and display it on a page or post. TablePress works out of the box, so you don’t need to configure any settings before getting started.
Creating a Table
Create your first table by heading to your WordPress dashboard > TablePress > Add New Table. If you’d like to create a table from an import instead, read about How to Import a Table here.
- Enter a name and (optionally) a description for your table. Both are mainly for internal reference, but can also be displayed on your page if you enable “Print Table Name” or “Print Table Description” in the Table Options later.
- Choose the starting number of rows and columns. The row count includes the header row by default.
- Click “Add Table”.
All of these options can be changed later. You’ll then be taken to the Edit Table screen.
Add Your Table Content
Scroll down to the “Table Content” section, where you’ll find a visual editor representing your table. You can use it much like a spreadsheet application (e.g., Excel or Google Sheets), including basic click-and-drag auto-fill.
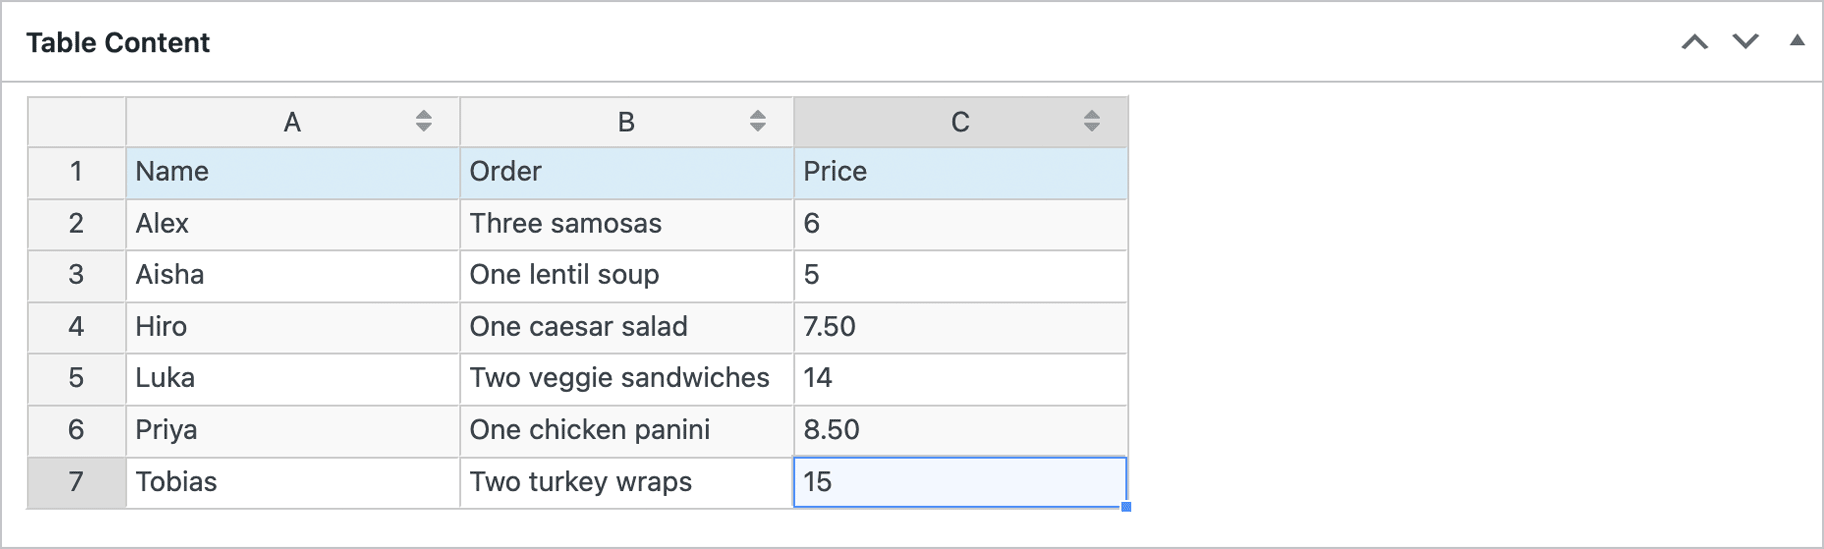
- To add, remove, duplicate, or hide rows and columns, either right-click on a cell or use the controls in the “Table Manipulation” section below.
- You can also enter rich text, add links, include images, or merge cells.
- By default, the first row is treated as a header row for your column titles. Many visitor-facing features (like sorting or filtering) require at least one header or footer row, and it’s also recommended to have one for accessibility and search-engine optimization reasons.
Once you’ve entered your data, save the table by clicking the “Save Changes” button in the Header Bar at the top of the screen. You can preview its structure at any time using the “Preview” button.
Place the Table on Your Page or Post
Next, edit the page or post you wish to place the table on. In the block editor, add a “TablePress table” block and select your table in the “Table” field in the sidebar.
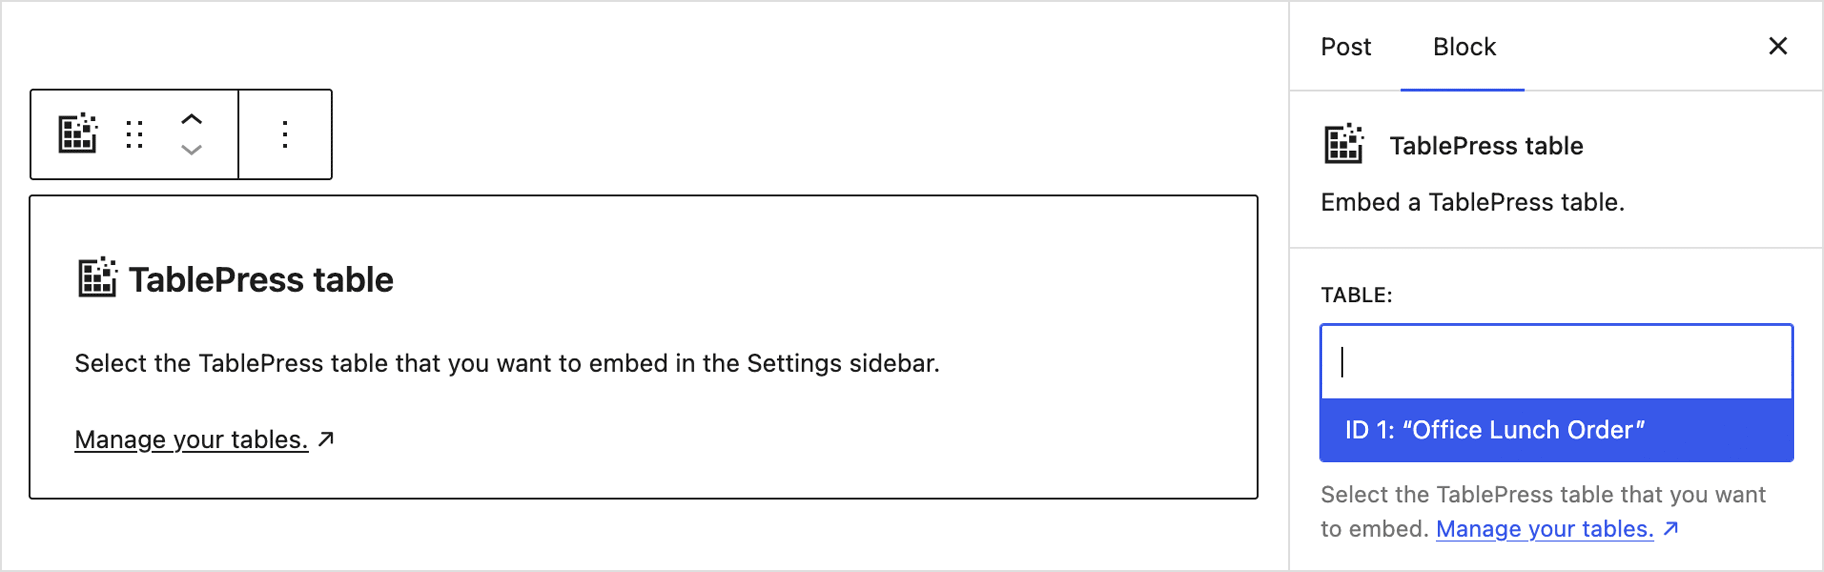
If you are using the Elementor page builder, you may choose the “TablePress table” widget instead.
Alternatively, and for non-block themes and other page builders, put the Shortcode
[table id=XYZ /]Code language: JSON / JSON with Comments (json)in that spot instead. Replace “XYZ” with your table’s unique ID. You can find it in the first column under TablePress > All Tables.
Save the page or post and see how it appears to visitors.
Revisit Your Table
If you want to edit your table later, you’ll find it listed under TablePress > All Tables. You can also get there by clicking the “Edit” link below the table on the page or post into which you have embedded the table.
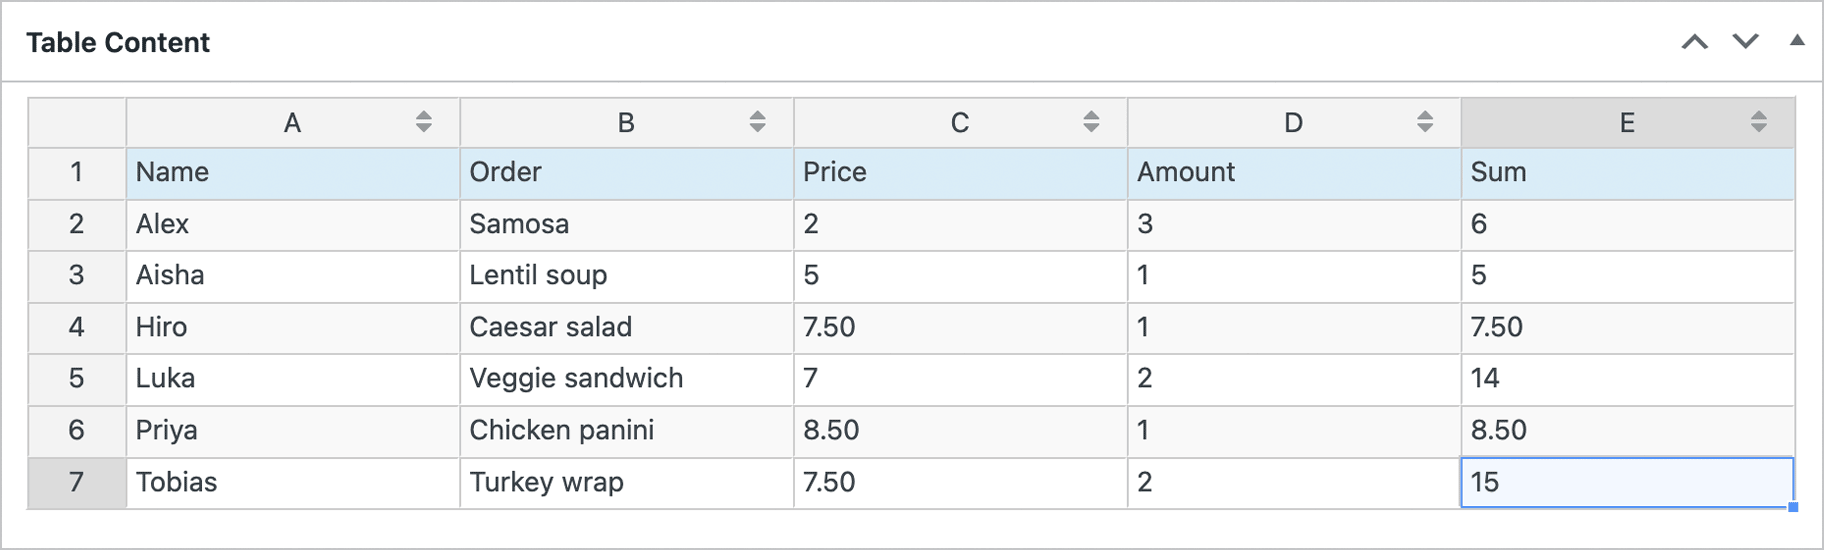
On its Edit screen, in the “Table Manipulation” section, you may reorder content, add or remove rows and columns, and duplicate rows or columns. Since we’re still experimenting, feel free to try these actions in your dummy table.
Good to Know
Tables are always inserted into your content manually (via block, widget, or shortcode). They are linked to the original table, so any changes you make to that will automatically update all instances where the table is placed.
The block, widget, and Shortcodes also support additional parameters for customizing how a table is displayed. These are covered in a later guide.
If you want to display a table outside of a page or post content (e.g., in a sidebar or footer), you can use a Template Tag function.