Get to know TablePress
Introduction to TablePress, Installation, Updates, and Deinstallation
Tabular data is everywhere on the web. Whether for parts lists, ingredient tables, or product comparisons, tables have been around since the late 1990s. In the early days of the web, they were often misused for page layouts, but today they have largely returned to their intended purpose: displaying structured data.
Due to the tedious and error-prone work of directly coding tables in complex HTML code, creating and managing tabular data has traditionally been separate from presenting it on a website. Instead, most people maintain their data in spreadsheet applications and then transfer it into their content management system, like WordPress.
WordPress itself offers only very basic table support. You can create simple tables with rows, columns, and header cells, but advanced functionality such as responsiveness, pagination, searching, filtering, or handling larger datasets is limited or unavailable without additional tools.
| Column 1, Header Row | Column 2, Header Row |
|---|---|
| Column 1, Body Row 1 | Column 2, Body Row 1 |
| Column 1, Body Row 2 | Column 2, Body Row 2 |
For many users, TablePress fills the gap between WordPress built-in table support and the demands of real-world data presentation. It extends WordPress with advanced table features while also fitting naturally into spreadsheet-based workflows through import and export tools—and it does those without the editor having to deal with that complex HTML code.
Most TablePress workflows follow the same general pattern: Create or import your table data, configure the desired table features and appearance, and then place the table on your site where needed. The guides on the following pages walk you through each step of that process.
How to Install the Free Version of TablePress
The free version of TablePress is delivered through your site’s connection to the WordPress.org Plugin Directory, the official marketplace and community support platform for free, open-source plugins.
- In your WordPress dashboard, go to Plugins > Add Plugin.
- In the upper right corner of the screen, enter “TablePress” into the search field.
- Locate the correct entry for TablePress and click “Install Now”.
- After the installation, click “Activate”.
The plugin will appear as “TablePress” in the list under Plugins > Installed Plugins, and may be updated, deactivated, or removed there.
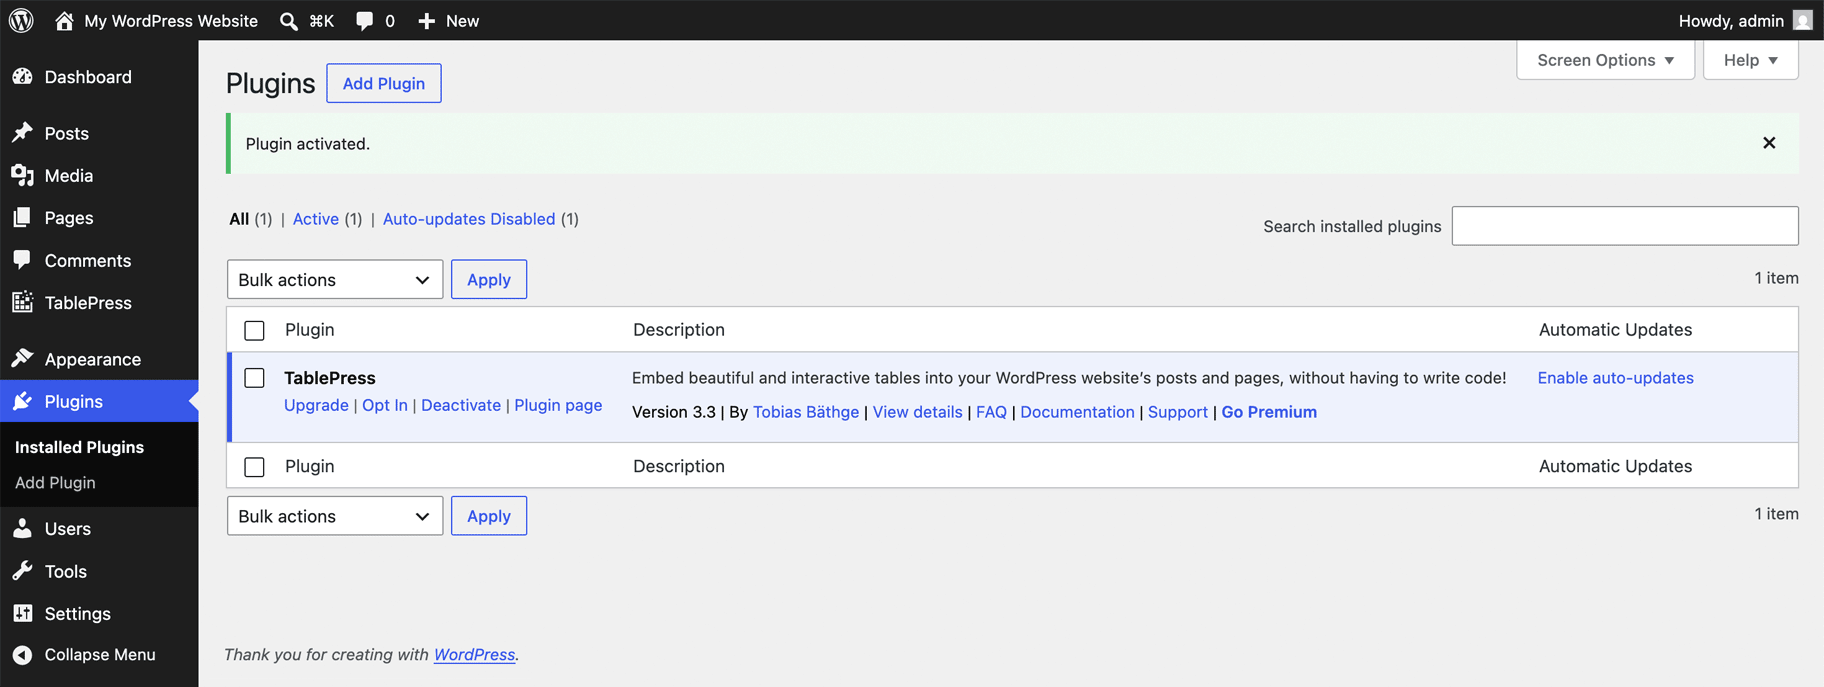
When first using TablePress, an opt-in dialog will ask you to support plugin development by agreeing to provide non-critical site information and your email address to us. This data is used solely by TablePress, for statistical purposes and to send you helpful onboarding information and occasional offers for our premium products.
How to Install Manually
Alternatively, you may install the plugin manually:
- Download the plugin’s ZIP file from the WordPress.org Plugin Directory to your computer.
- Go to your downloads folder and extract the file. You’ll get a new subfolder called “tablepress”.
- With the FTP client or plugin of your choice, upload that folder to the “wp-content/plugins/” directory on your server.
- On your WordPress dashboard, go to Plugins > Installed Plugins.
- Find “TablePress” in the list and click “Activate”.
How to Install TablePress Pro and TablePress Max
As the TablePress Premium versions are only available after purchasing a license, the respective plugin files can only be downloaded from the TablePress website. With these, you can then install TablePress Pro and TablePress Max manually. We’ll guide you through the process step by step.
That’s why TablePress Pro and Max can only be installed manually. We’ll guide you through the process step by step.
- Find the download link in your confirmation email or in your customer area on our website and download the plugin’s ZIP file to your computer.
- Do not extract the file. If your browser unpacked it without asking (Safari on Mac commonly does this), zip it back up with the compression application of your choice or turn off the respective browser setting and repeat the download.
- In your WordPress dashboard, go to Plugins > Add Plugin.
- At the top of the screen, click “Upload Plugin”.
- Drag and drop the plugin ZIP file into the upload box and click “Install Now”.
- After installation, click “Activate Plugin”.
Note that you won’t need the free version anymore once you’ve installed and activated a premium version of TablePress. It’ll be deactivated automatically, and you may then delete the free version, called just “TablePress”, without fear of losing data.
When using TablePress Pro or TablePress Max for the first time, you will be prompted for your license key. You can find it in your confirmation email or in your customer area on our website.
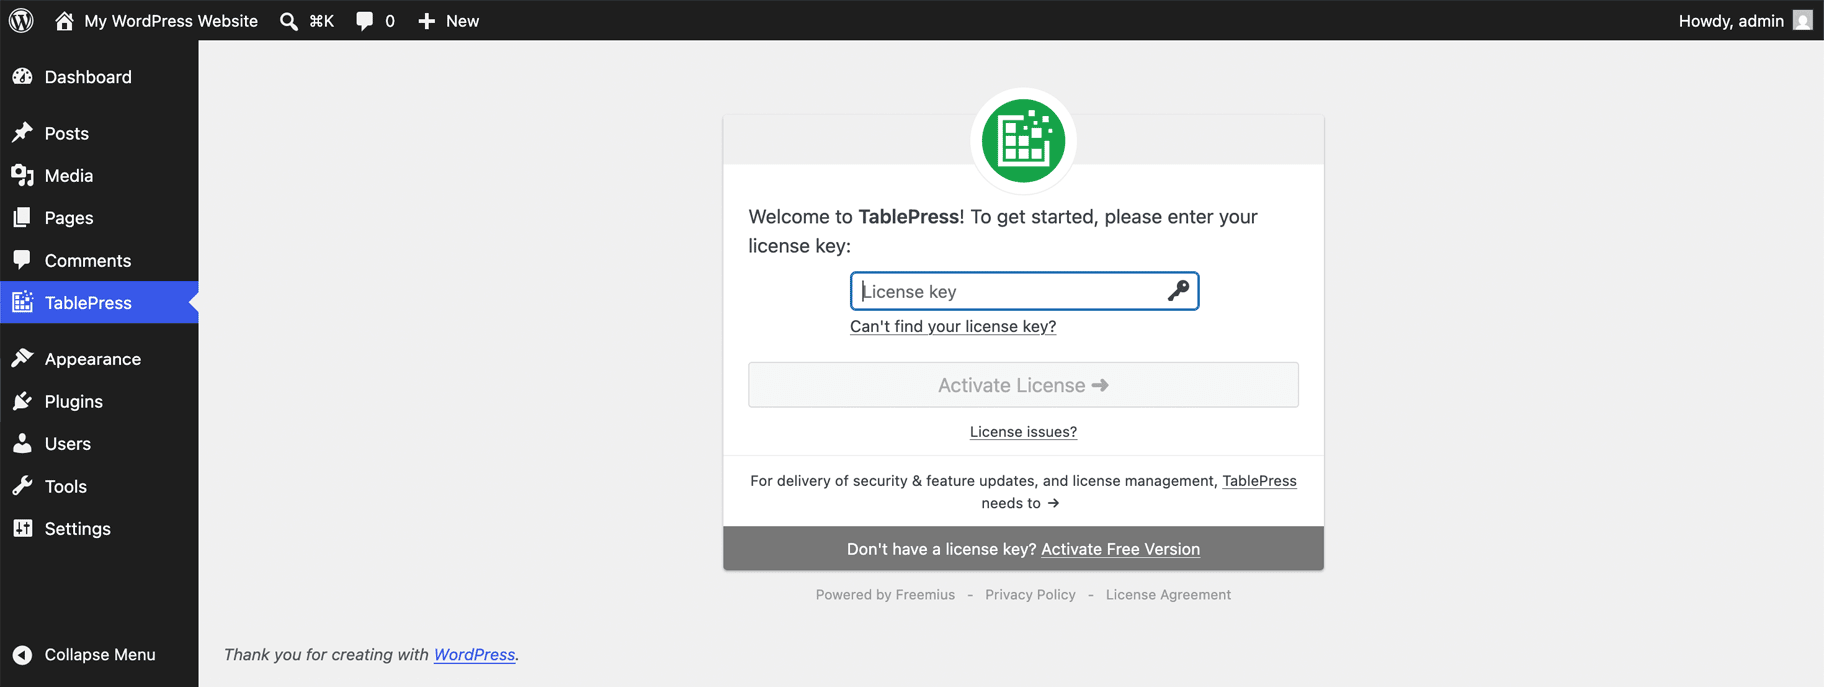
Also, if you haven’t used TablePress before, an opt-in dialog will ask you to support plugin development by agreeing to provide non-critical site information and your email address to us. This data is used solely by TablePress, for statistical purposes and to send you helpful onboarding information and occasional offers for our premium products.
How to Install Manually
For completeness, here are the steps to install a TablePress premium plugin via FTP.
- Find the download link in your confirmation email or in your customer area on our website and download the plugin’s ZIP file to your computer.
- Go to your downloads folder and extract the file. You’ll get a new subfolder called “tablepress-premium”.
- With the FTP client or plugin of your choice, upload that folder to the “wp-content/plugins/” directory on your server.
- On your WordPress dashboard, go to Plugins > Installed Plugins.
- Find “TablePress (Premium)” in the list and click “Activate”.
How to Update TablePress
We regularly issue updates for TablePress to improve security, stability, compatibility, user experience, and to publish new features. We strongly recommend that you keep TablePress updated to the latest version at all times. Likewise, we generally recommend using the latest version of WordPress and the PHP programming language on your server.
WordPress will notify you when a plugin update for TablePress is available. The easiest way is then to click “Update automatically” to get the latest version. We recommend enabling automatic updates for TablePress, so that new versions will be installed by WordPress automatically, without you having to perform additional manual steps.
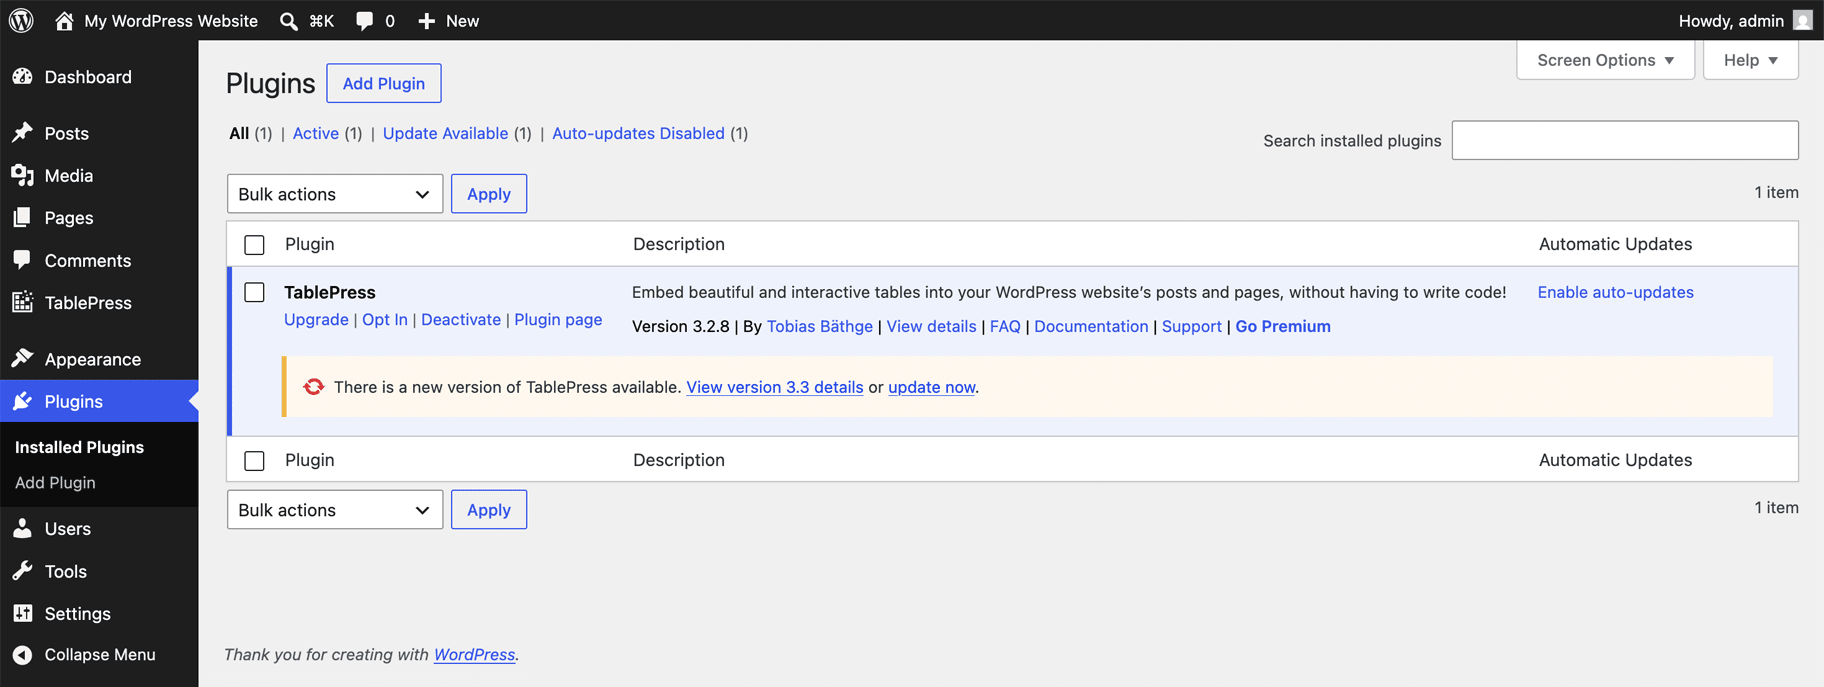
To run the update manually, simply follow the steps for manual first-time installation from above, and agree to “Replace current with uploaded” when prompted.
How to Deactivate or Uninstall TablePress
If you want to keep your tables and settings in the database, e.g., for a re-installation in the future, you can simply deactivate TablePress on your WordPress dashboard > Plugins > Installed Plugins screen. You’ll find the link labeled “Deactivate” on the “TablePress” or “TablePress (Premium)” item in the plugin list.
To completely remove all data, including tables and plugin settings, you may use the “Uninstall” button on your WordPress dashboard > TablePress > Plugin Options. We recommend creating a backup of your site, e.g., using the easy-to-use WP Staging plugin, or exporting and downloading your tables to your computer in case you change your mind later.