Importing table data from external spreadsheet sources
How to import tables from Dropbox
TablePress can import tables from a variety of popular spreadsheet applications. This includes XLSX files from Microsoft Excel, CSV (Character-Separated Values), ODS (OpenDocument Spreadsheet), HTML, and JSON files. In addition to uploading files from your local computer, it is also possible to import spreadsheets into your WordPress site by providing a URL (link address) to such a file.
This opens up the possibility to import a table from a file in your Dropbox into TablePress. (By the way: The TablePress Max license plan comes with the Automatic Periodic Table Import feature. This allows you to fully automate the table import process, saving you time and effort!)
All that you need for this is a link address to the spreadsheet that directly returns an appropriate file, without any user interface or login screen. This can be done by publicly sharing the file on Dropbox and then using a generated (secret) URL for the import into TablePress. Our beginner-friendly step-by-step tutorial will guide you through this process and show you how to find this URL for your Dropbox file.
Step 1: Open your Dropbox online
Go to the Dropbox website and sign in to your Dropbox account, if you are not yet logged in. Upload a new Microsoft Excel (.xlsx) or CSV file or find the existing one that contains the table you want to share.
Step 2: Share the File
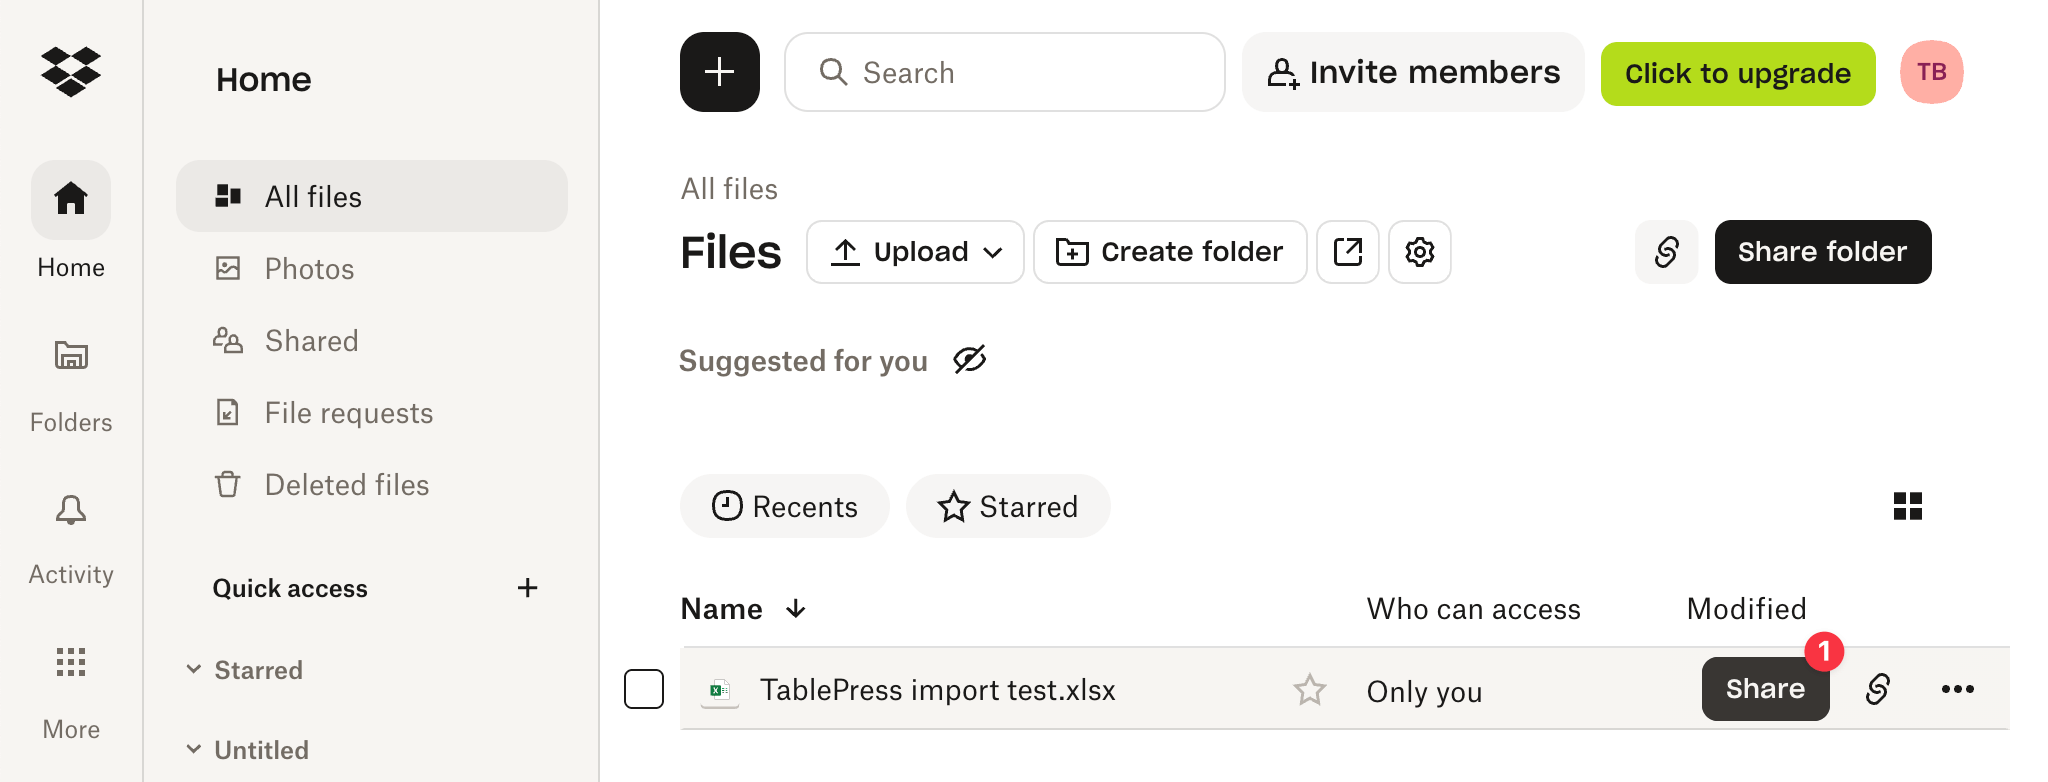
In the list that shows your file (“TablePress import test.xlsx” in the example screenshot below), move the mouse cursor over the file and click the black “Share” button (1) on the right side of the hovered file.
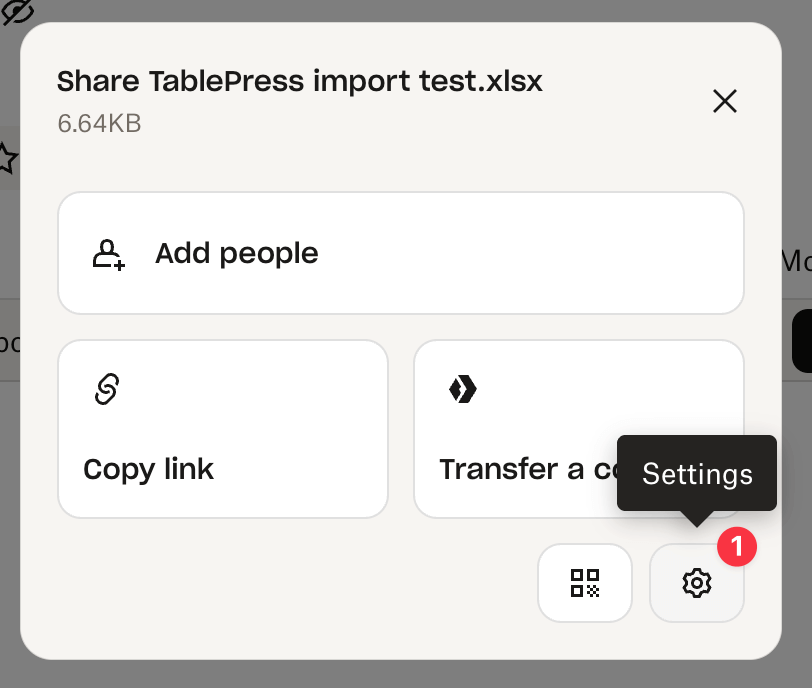
This will open the following “Share …” overlay. In that dialog, click the “gear” icon (1) for “Settings” in the bottom-right corner.
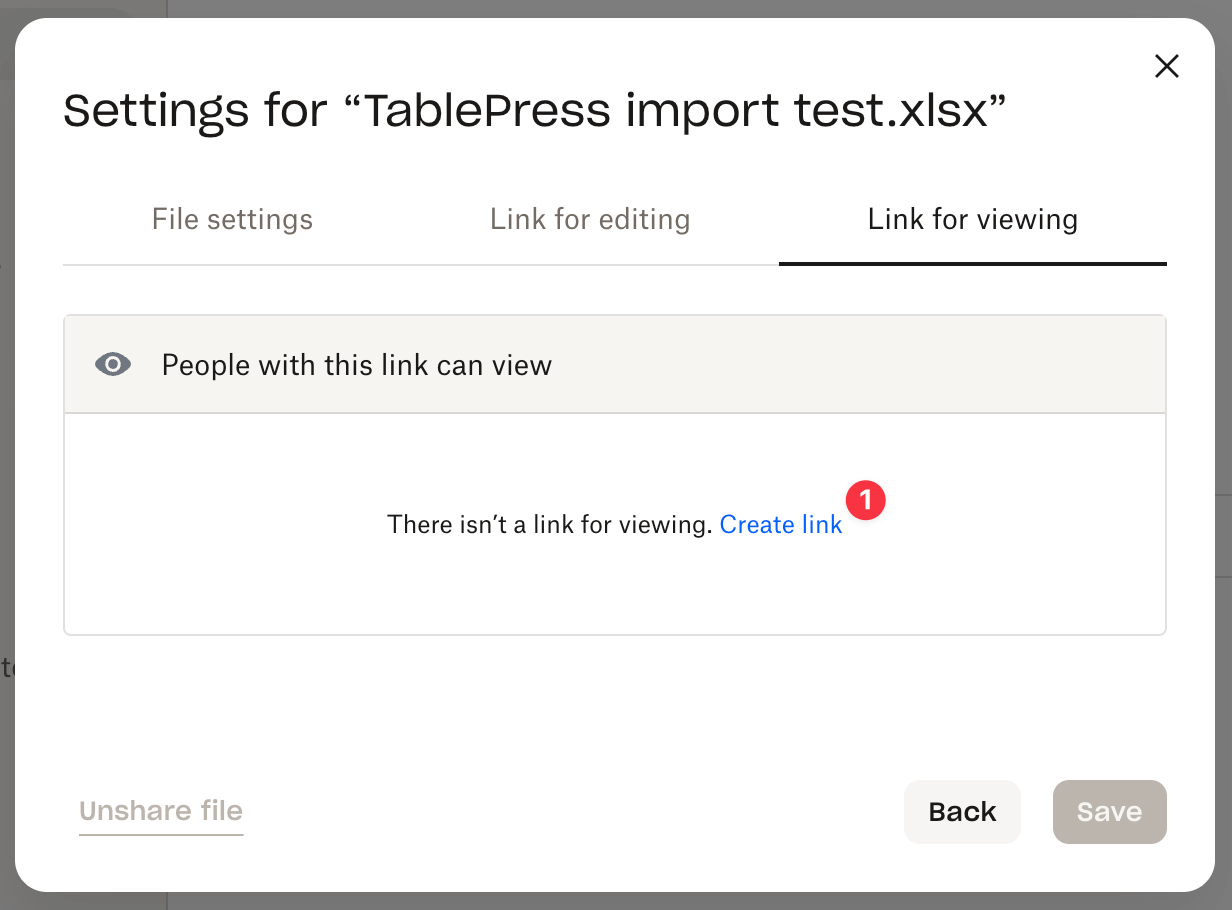
In the “Settings for …” dialog, click on “Link for viewing” (1) in the top-right corner.

After switching to the “Link for viewing” tab, click on “Create link” (1) after the “There isn’t a link for viewing.” text.
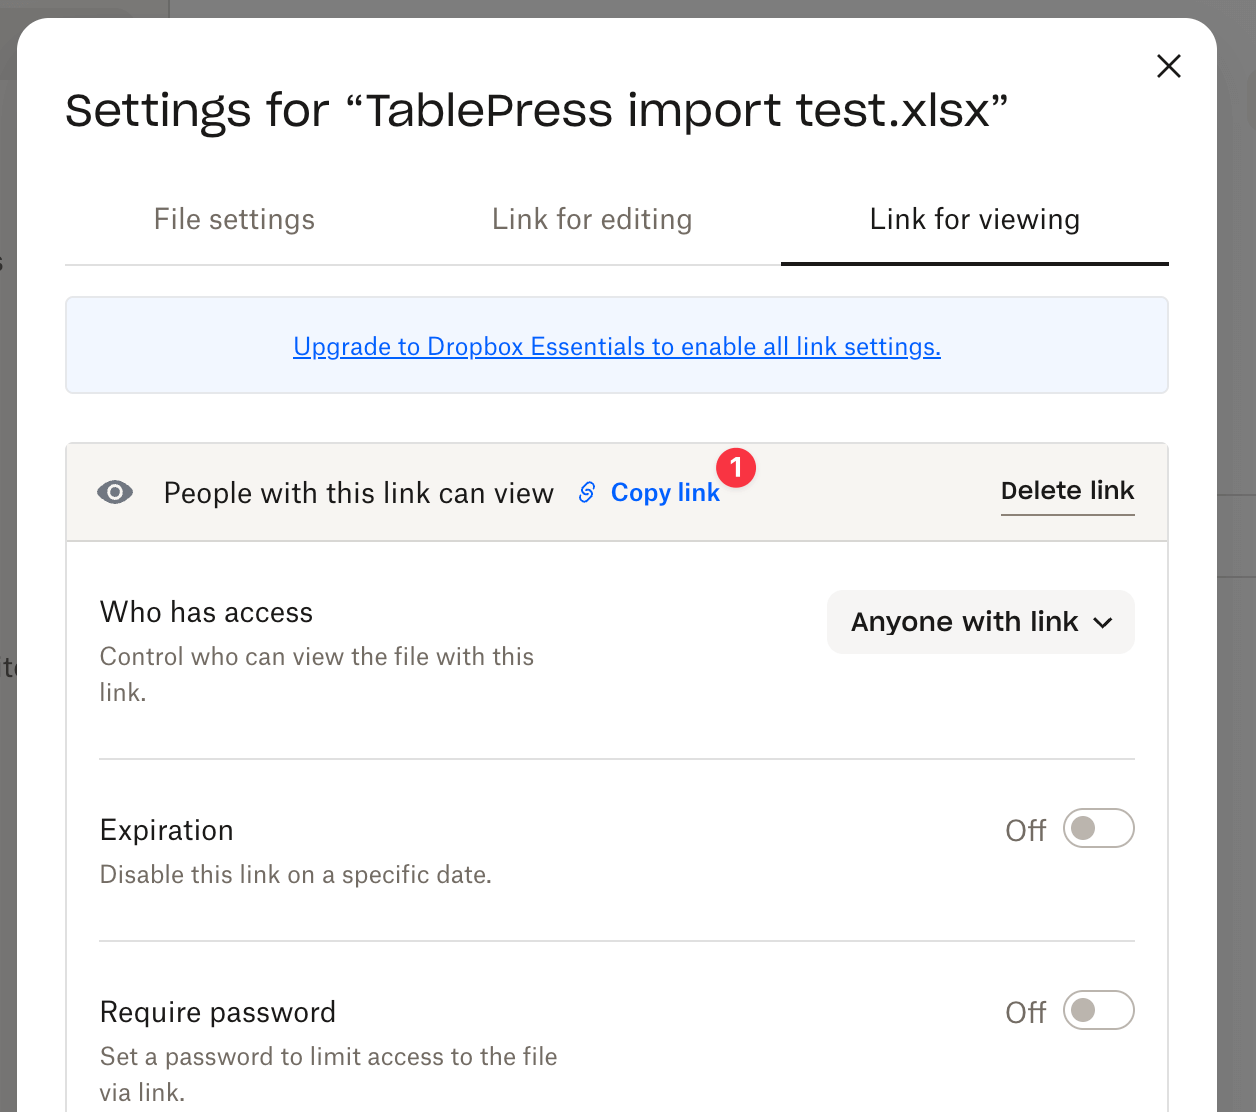
After creating the link, click on “Copy link” (1) after the “People with this link can view” text.
You will now have the Sharing link for the chosen file from your Dropbox in your computer’s clipboard, as confirmed by a notice at the bottom of your screen:

Step 3: Modifying the Sharing URL
Open a new browser tab and paste the copied link into the address bar. The link looks like
https://www.dropbox.com/scl/fi/{id}/{filename}?rlkey={key}&dl=0Code language: HTML, XML (xml)where {id} is an ID, {key} is an access token, both consisting of a long sequence of letters and numbers, and {filename} is the filename of your chosen file.
In some cases, the link can also be a little bit shorter and look like
https://www.dropbox.com/s/{id}/{filename}?dl=0Code language: HTML, XML (xml)Notice how both link formats end with dl=0 which is the short form for “download turned off”. This indicates that the file should instead be viewed directly in the Dropbox user interface, when opened.
To instruct Dropbox to instead offer the file for download, which is necessary when using this link for importing file into TablePress, change that dl=0 to dl=1 so that the modified URL looks like
https://www.dropbox.com/scl/fi/{id}/{filename}?rlkey={key}&dl=1Code language: HTML, XML (xml)or
https://www.dropbox.com/s/{id}/{filename}?dl=1Code language: HTML, XML (xml)depending on whether the originally copied link was in the long or short format.
That’s it! You now have a link address that can be used for importing your chosen file from Dropbox as a table into TablePress.
A quick tip: To check if a URL link is suitable, try opening it in a “private”/”incognito” browsing window. If you are offered your selected file for download, without seeing a Dropbox user interface or having to log in first, the URL should work for the import into TablePress.
Step 4: Import the URL into TablePress
Once you have the correct Sharing URL from Step 3, you can use that for importing the file from Dropbox into TablePress. For that, go to the “Edit” screen of TablePress on your WordPress site. Choose “URL” as the “Import Source” and paste the URL into the “File URL” text field. After clicking the “Import” button, your Dropbox file will be imported into TablePress. You can then edit it as needed and show it on your site by embedding the “TablePress table” block (if you are using the block editor) or the corresponding Shortcode into a post or page.

Note that (just like any other file import in TablePress) this is a one-time import. There is no automatic synchronization with file changes in your Dropbox! However, there is a great solution for that as well: The TablePress Max license plan comes with the Automatic Periodic Table Import feature. This module can periodically import your tables periodically (e.g. every minute, every hour, etc.). Not only does this help you save a lot of time by not having to repeat the import task manually, but it also allows other people to update tables on your website, e.g. by using a shared file in a Dropbox for data editing.
Tutorials on how to create such a URL for other services like Google Sheets, Google Drive, Microsoft Excel Online, or Microsoft OneDrive are available on the Tutorials, Guides, and How-tos page.